
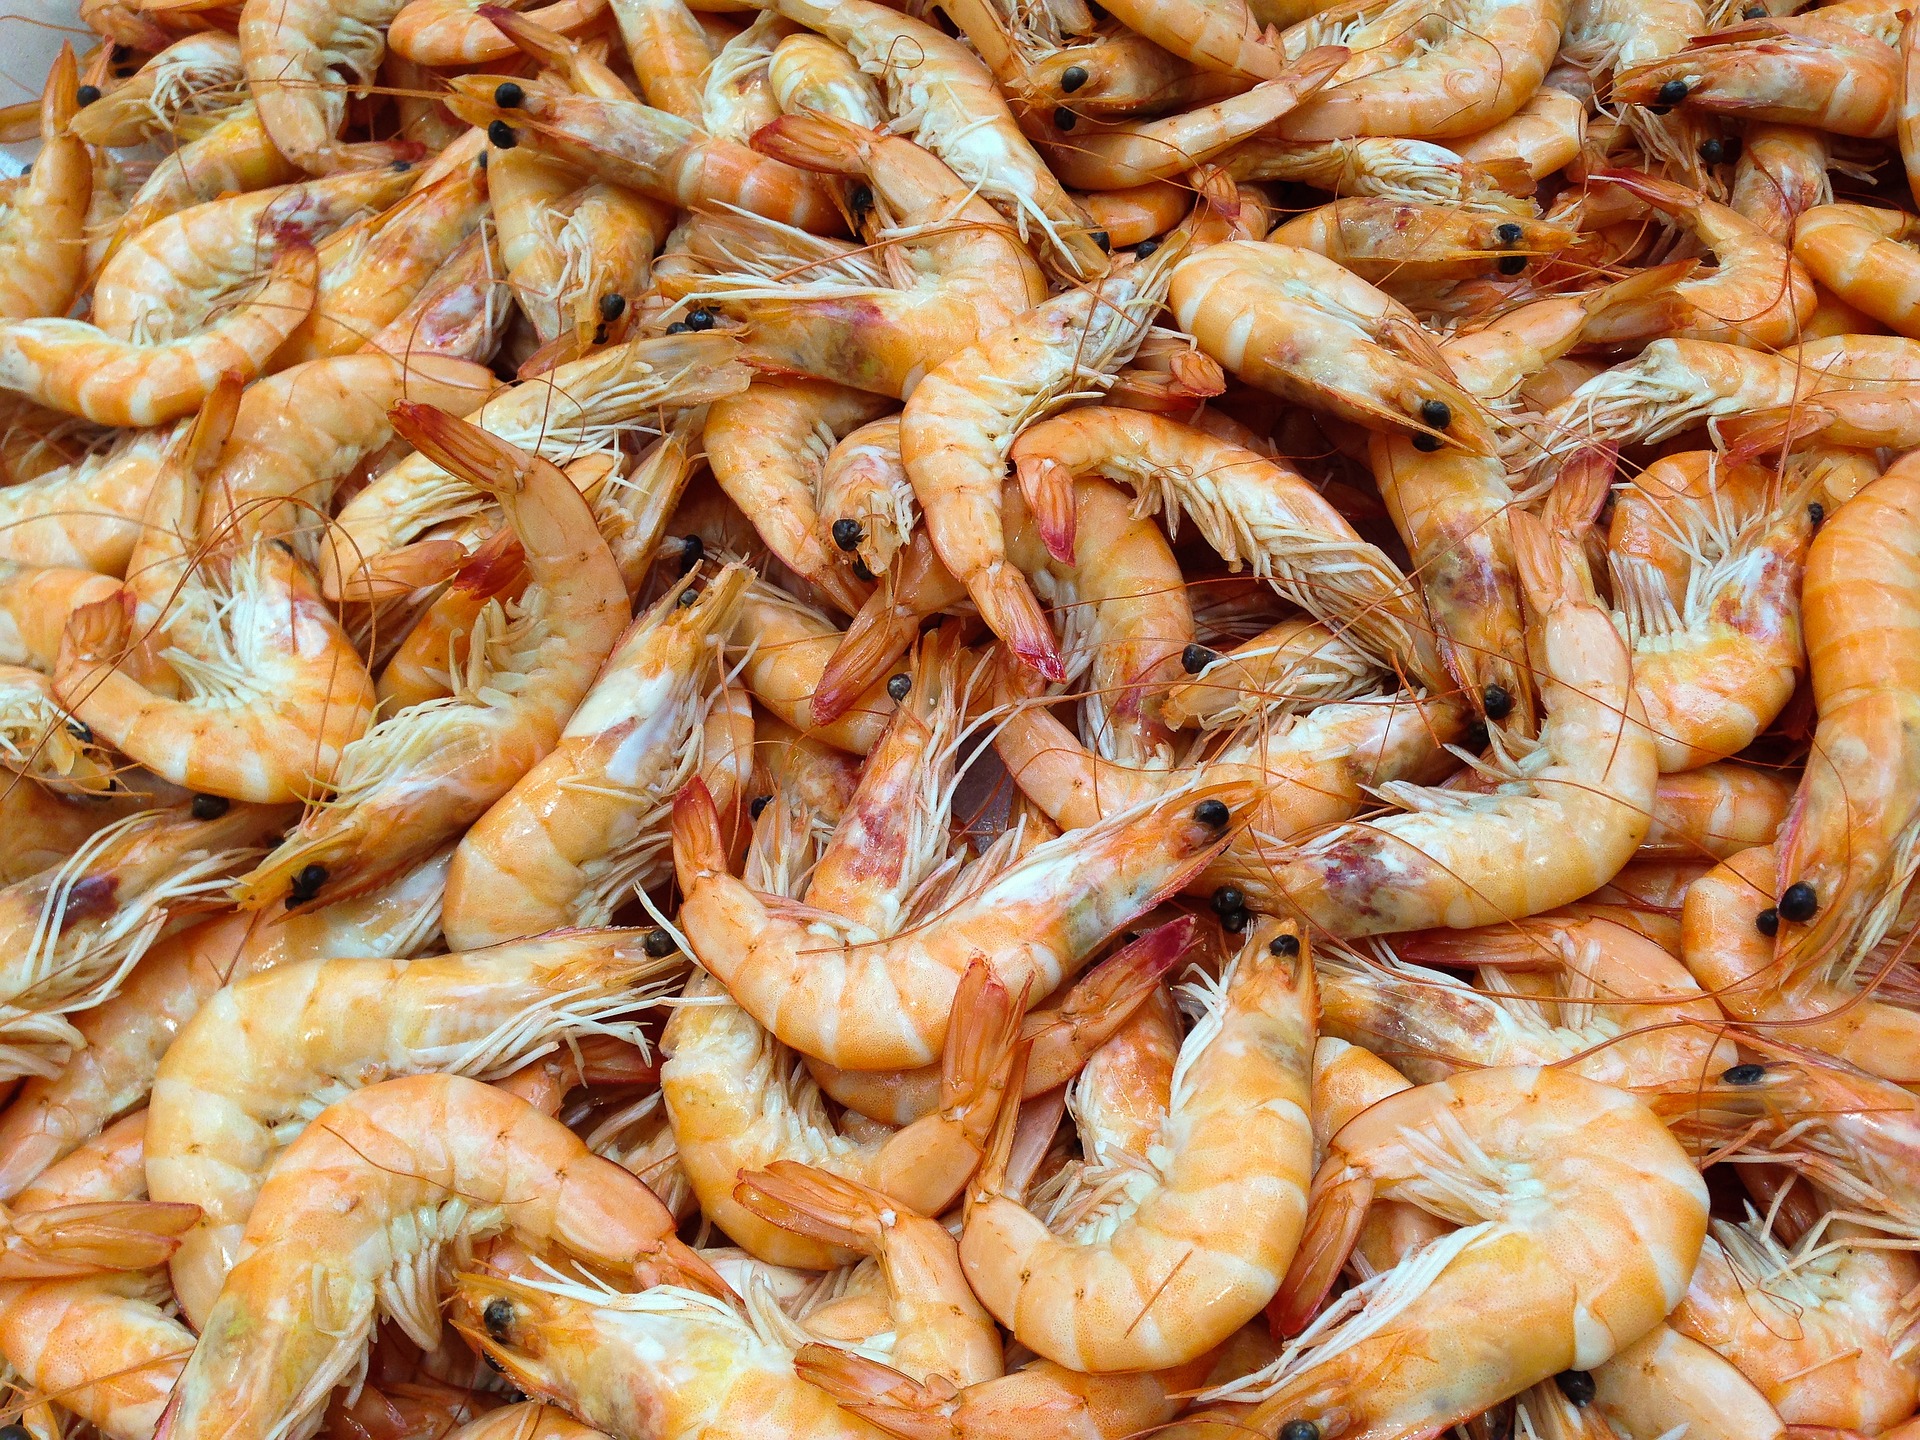
Shrimp is a great meal because it is lower in calories and has some great health benefits. In addition, shrimp pair really well with other sides and vegetables. However, before you can start to prepare shrimp you are going to need to know how to work them. Deveining shrimp is not a difficult process, however you must learn how to do it properly so that you don’t have a gritty texture to your shrimp. We have broken down the steps to deveining shrimp to make this easier for you. After all, if you get this process down you will find a way to eat much more shrimp this summer.
How To Clean and Devein Shrimp
Here are the basic steps to devein shrimp. Although some methods may vary, we believe this is the simplest and most efficient way to get it done.
Step 1: Gather Supplies
A few key items that can be found in most kitchens will help make the job easier and less time-consuming.
-A garbage bag to throw away the shells and heads of white shrimp
-Deveining or pairing knife
-Container to place the cleaned crustaceans
-Set up near a sink to quickly rinse hands and shrimp
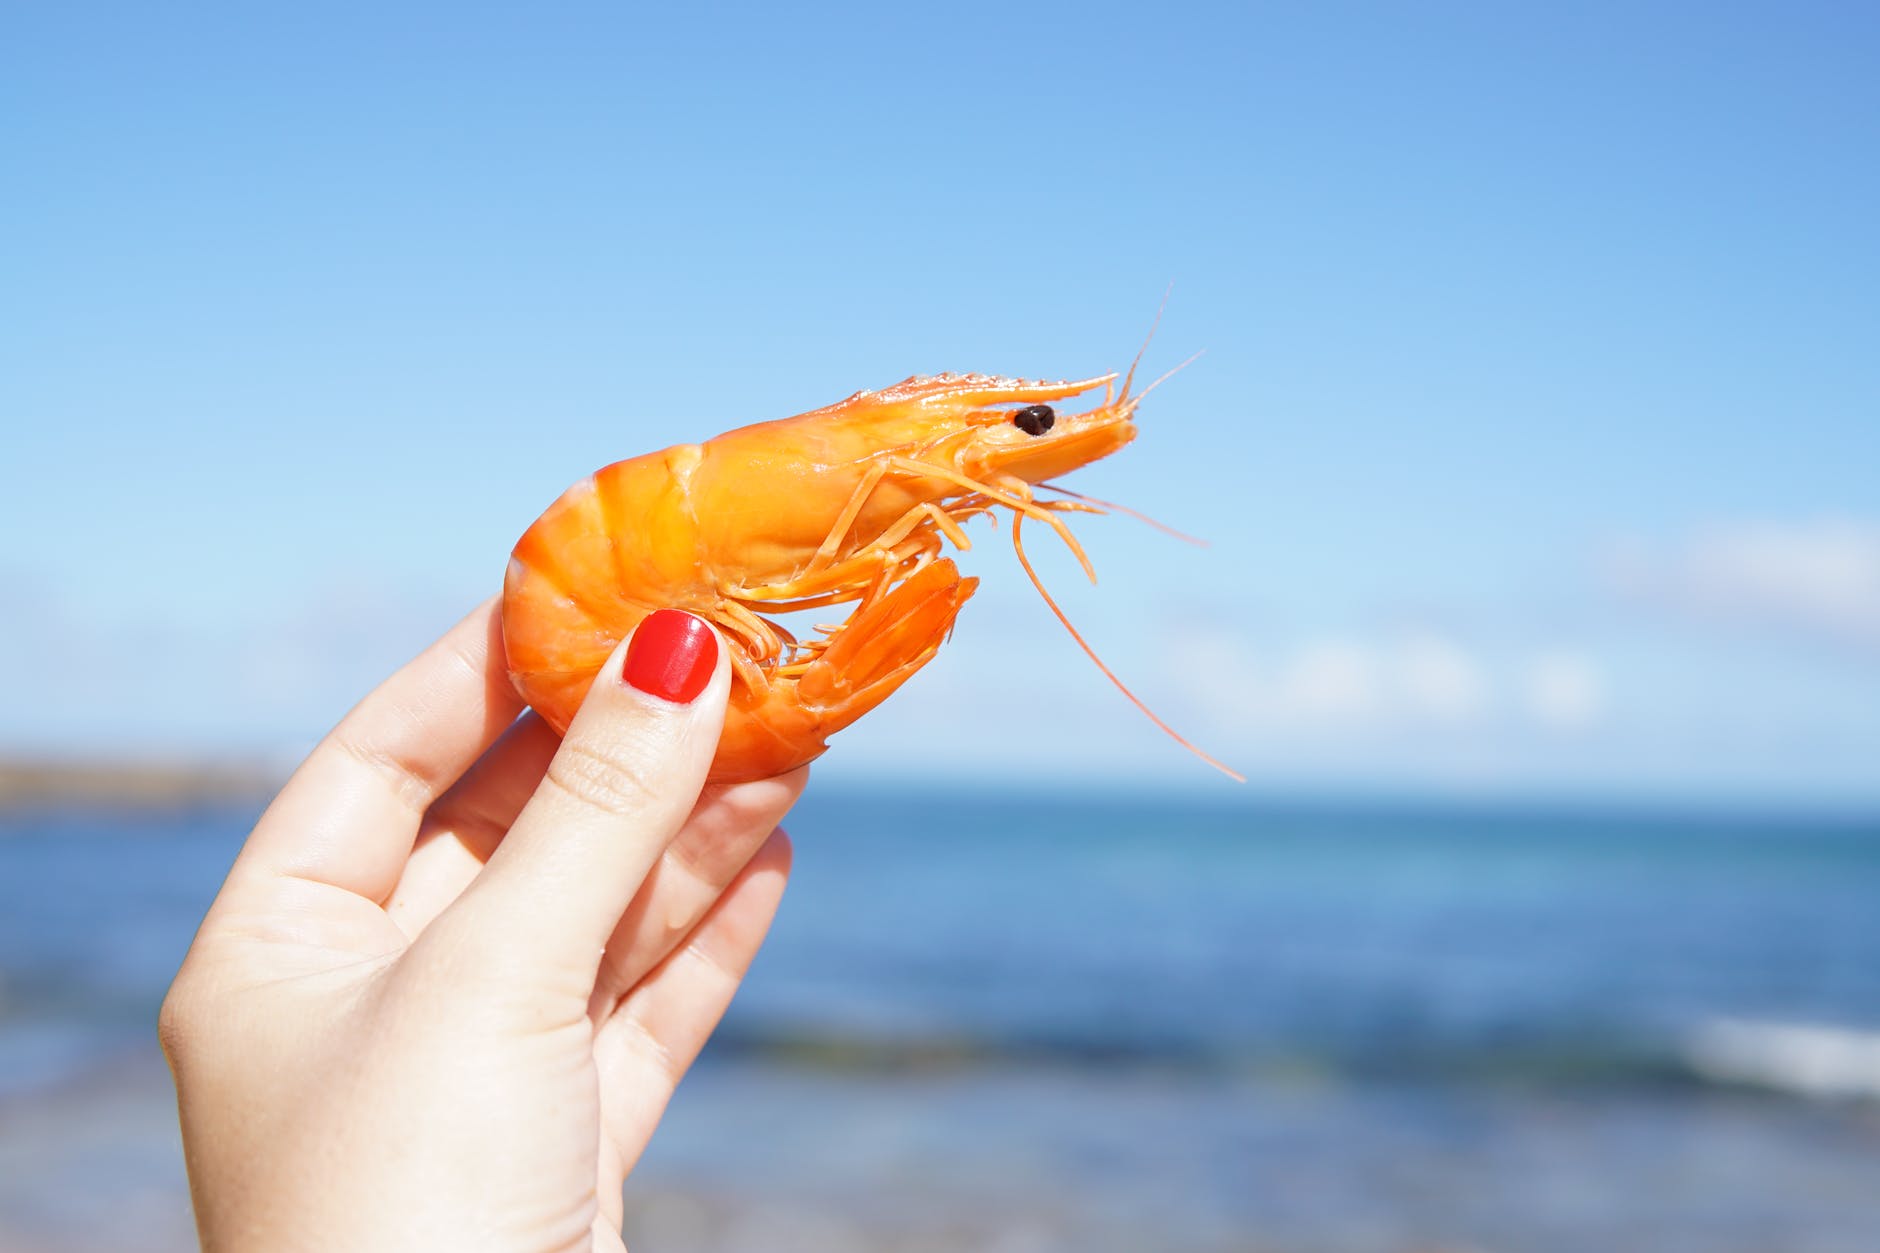
Step 2: Pull Off Head
Removing the heads of shrimp is optional. The process to remove them is simple.
While holding the center portion of the crustacean, hold the head with the opposite hand and pull it away from the body.
Step 3: Outer Shell
The shell of a shrimp can be removed before or after cooking a shrimp recipe. To remove a shrimps shell-
Pinch the tail between the thumb and pointer finger
With the other hand, hold the opposite end of the shrimp
Pull the tail section away from the body, which removes half of the shell
To remove the remaining section, open the shell from the underside of the shrimp pealing up and way. The remainder should come off as one whole shell.
Step 4: Devein
A crustacean can be deveined with the shell on or off. Deveining is the process of removing the intestinal tract of the shrimp.
The vein runs on both the upper and underside of the body. Deveining a shrimp is an easy process but can take a substantial amount of time with large quantities.
With the shell on or off, make a shallow cut on both the top and bottom side from the tail to the head with a deveining knife or pairing knife.
Once the cut is made, a thin black line will be apparent. Pinch the vein between your finger or use a toothpick to pull it out. Repeat on the other side.
The vein typically comes out in one long strand on each side.
Step 5: Return to Ice
Shrimp must be stored at nearly freezing temperatures if they will not be placed in the freezer. It is critical to lay a ziplock bag filled with ice cubes directly on top of the shrimp to keep them between 35 and 38 degrees Fahrenheit. Without ice, the shrimp will break down more quickly.
What Knife To Use When Deveining Shrimp?
The frequently used knives are a deveining knife or a pairing knife. Either will work just as well. If you often purchase uncleaned shrimp, it may be best to invest in a deveining knife.
Pairing knives are found in most kitchens, but a deveining knife is not as common. A trip to a local home store or online purchase will be needed to source a deveining knife to add to the collection of knives in the kitchen.
What Happens If You Don’t Devein shrimp?
Many people worry that they will get sick if they don’t devein shrimp. Luckily this is not the case. However, you should still devein the shrimp that you eat.
Can You Get Sick From Shrimp Veins
You cannot get sick from eating shrimp which the veins have not been removed. The bacteria contained in the veins will be cooked and because of the temperature, it will be killed prior to consumption.
One noticeable difference between veined and unveined shrimp is the texture. The texture of shrimp without the vein removed is most often described as gritty, and you may feel as though you are chewing on a small amount of sand.
How Do You Know If Shrimp Are Bad
When you’re at the store or pulling shrimp out of the fridge for cooking, it is essential to make sure they have not gone bad. Food poisoning is an unpleasant experience.
Shrimp that has gone bad may have the following characteristics
- A bleach like or ammonia smell
- Yellow coloration to the shells
- Shrimp heads with shrunken eyes
- The body of the shrimp has removed from the shell
- Slimy texture on the shrimp
These are some easy ways to ensure that the shrimp you are preparing to eat has not gone bad.
How Long Can You Keep Shrimp In Freezer
Shrimp have a very long life span when properly stored in the freezer. An unshelled crustacean can be frozen for nine to twelve months. If the shrimp have had the shells removed before freezing, they can be stored for six to nine months.
Consider other factors that can affect the quality of the shrimp after removing them from the freezer. They must be stored in ziplock bags designed for the freezer to help avoid freezer burn. Freezer burn can happen quickly, rendering the shrimp unedible in less than six months.
Why Do You Soak Shrimp In Milk
Much like fish, shrimp can have a seafood smell because of trimethylamine. As the shellfish begins to break down, it turns into trimethylamine resulting in an odor.
Soaking shrimp in milk for just thirty minutes will help remove the unpleasant smell. Casein which is a protein found in milk conjoins with the trimethylamine. This bond helps pull the odor causing agent from the shrimp.
While soaking seafood in milk doesn’t remove all of the fishy smell, it will make a noticeable difference.
Get Started Cleaning and Deveining Shrimp
Gather up a group of friends and family to make the deveining process move along much quicker. The job itself is simple, but it does require a lot of time. After all, shrimp that has been deveined will be much more enjoyable to eat. No need to purchase a deveining knife because something in the drawer will work just fine.


Leave a Comment
You must be logged in to post a comment.